
A miter gauge table saw attachment might not be the most glamorous tool in your workshop, but it’s one of the most underutilized. If you’ve been struggling with crosscuts that aren’t square or angled cuts that don’t fit together properly, your miter gauge could be the answer, or it could be the problem. This guide walks you through what a miter gauge does, how to choose one, and how to use it correctly to get precise, repeatable cuts every time. Whether you’re building a deck, crafting furniture, or tackling trim work, mastering this simple tool separates rough work from professional results.
Table of Contents
ToggleKey Takeaways
- A miter gauge table saw attachment holds workpieces at precise angles to deliver safe, square crosscuts and consistent, repeatable results that separate professional work from rough cuts.
- Stock miter gauges work adequately for casual DIY, but aftermarket upgrades from brands like Incra or Woodcraft ($100–$400) offer superior angle precision and reduced slot play for finish carpentry and furniture projects.
- Verify your miter gauge’s angle accuracy against a digital angle gauge or bevel square before cutting multiple pieces, as even 1-degree errors create visible gaps in miter joints.
- Common mistakes including ignoring miter slot wear, skipping angle calibration, and forcing workpieces too hard are easily prevented with proper maintenance, setup, and technique.
- Safe and effective miter gauge use requires supporting long workpieces with outfeed tables, using push blocks for angled cuts, and always clamping stop blocks for repeatable cuts on production runs.
What Is a Miter Gauge and Why It Matters for Your Table Saw
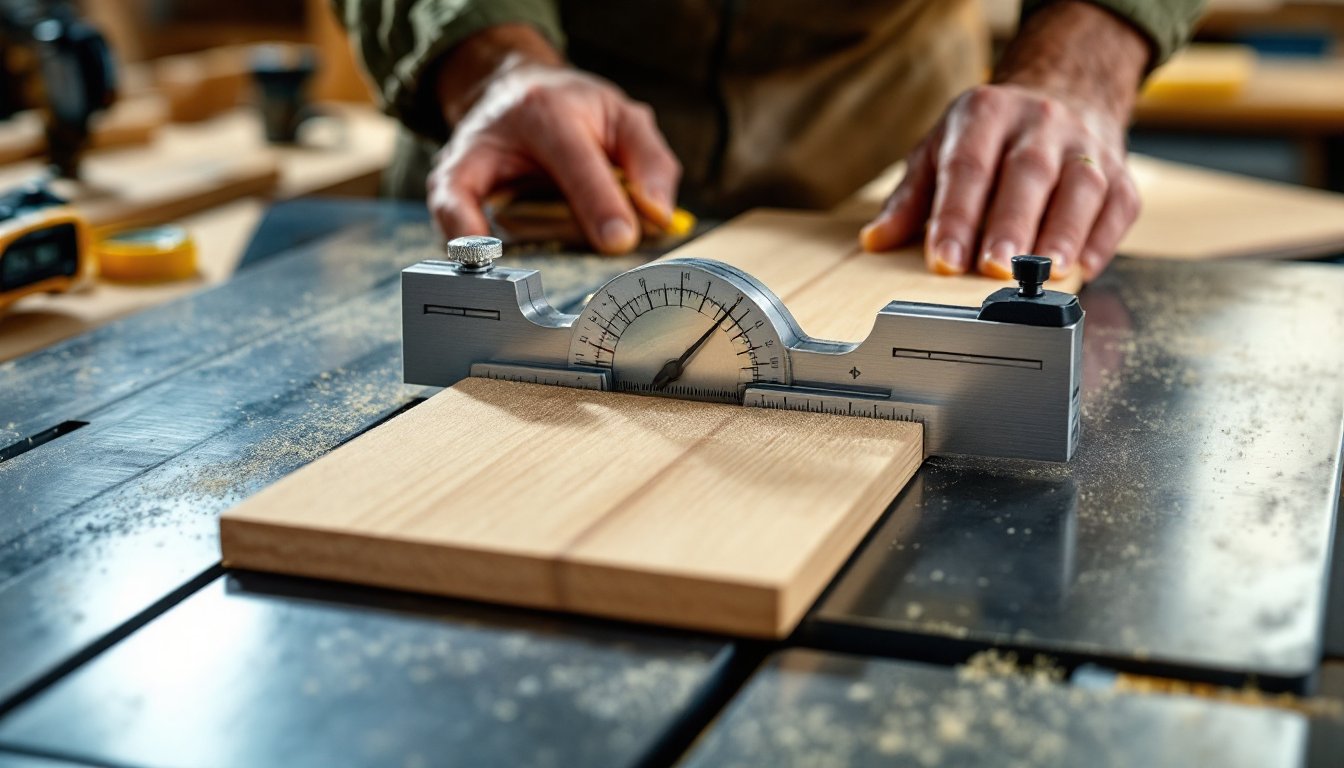
A miter gauge is a T-shaped guide that slides into the miter slot (a channel) on your table saw’s top, perpendicular to the blade. It holds your workpiece at a precise angle, usually 0 to 90 degrees, though premium models adjust beyond that range, and slides forward to make consistent crosscuts or angled cuts.
Why does this matter? Your table saw’s fence runs parallel to the blade, which works great for ripping (cutting along the grain), but crosscutting (cutting across the grain) without a miter gauge is dangerous and imprecise. You’d be wrestling a long board by hand, fighting the blade, and risking kickback. The miter gauge eliminates that. It keeps your hands safe and keeps your cuts square.
A properly tuned miter gauge gives you repeatability. You set the angle once, and every cut after that is identical. For trim, flooring, or frame-and-panel doors, that consistency is the difference between gaps and seamless joints.
Types of Miter Gauges: Standard vs. Premium Options
Most table saws come with a basic stock miter gauge, usually a simple plastic or cast aluminum guide with a sliding shoe and a handle. It works, but it has play: the fit in the miter slot loosens over time, the angle dial isn’t always accurate, and it can drift during the cut.
Stock Miter Gauges and Aftermarket Upgrades
Stock gauges are fine for rough framing or demolition work. If you’re doing finish carpentry or furniture, an aftermarket upgrade is worth considering. Quality aftermarket models from brands like Incra, Woodcraft, or Festool cost $100 to $400 but offer:
- Precision angle settings (often ±0.5 degrees) with vernier scales or digital readouts.
- Better fence support: Longer or dual fences prevent workpiece tilt and vibration.
- Reduced slop: Improved bearing systems and tighter tolerances in the miter slot fit.
If you’re committed to woodworking, an upgrade pays for itself in time saved and rework avoided. A workshop setup guide can help you assess which tools deserve investment first. For casual DIY, the stock gauge with proper maintenance is adequate. The key is tuning it: check that the miter slot isn’t worn, adjust the gauge’s shoe for a snug fit without binding, and calibrate the angle dial against a reliable square or angle finder.
How to Use a Miter Gauge Safely and Effectively
Safe miter gauge use starts with setup. Install the gauge in the slot nearest the blade, making sure it slides freely without play. The gauge should sit flat on the table and move smoothly forward and backward.
Personal protective equipment is non-negotiable: Wear safety glasses, ear protection (table saws are loud), and a dust mask (crosscutting produces fine chips). Remove loose clothing and jewelry, and tie back long hair.
Here’s the basic workflow:
- Set your blade height to roughly half the workpiece thickness. This minimizes splintering on the back side.
- Measure your cut length and mark your workpiece with a pencil or marking knife.
- Position the workpiece against the gauge fence, aligning your mark with a tape line or mark on the gauge fence as a reference.
- Keep firm, even pressure on the workpiece against the gauge as you push the gauge forward. Don’t force it: let the blade do the work.
- Allow the blade to come to full speed before feeding. Never reach over the blade or behind it.
- After the blade clears the workpiece, pull the gauge back toward you, then stop the saw.
For longer workpieces (anything longer than the fence), support the overhang with an outfeed table or roller stand. Unsupported overhang causes the board to dip, leading to poor cuts and injury risk. Many woodworkers maintain their table saw with a digital angle gauge to verify miter slot alignment annually, this catches wear before it ruins cuts.
Tips for Achieving Precise Angled Cuts
Angled cuts (miters) are where a good miter gauge shines, and where sloppy technique fails fast. A 1-degree error in a miter joint looks visibly bad: a 2-degree error won’t close at all.
First, verify the angle dial’s accuracy. Use a digital angle gauge or a bevel square set to the angle you want, and compare it to the gauge’s setting. If the dial reads 45 degrees but the actual angle is 44.5 degrees, note the offset and account for it on your next cut.
Second, mark both faces of your cut. Draw a line across the edge and face of the workpiece so you can see your mark approaching the blade from two angles. This prevents creep, when the workpiece rotates slightly during the cut.
Third, keep consistent pressure. Use a push block on longer workpieces to maintain even downward and forward pressure. A simple wooden push block with a 45-degree angled face makes angled cuts more controllable.
For repeatable angled cuts (like cutting 10 pieces to the same miter angle), clamp a stop block to the gauge fence. This eliminates variation and lets you produce identical pieces quickly. Most miter gauges accept a wooden or plastic fence extension: a few screws and clamps add a stop block in minutes.
Common Mistakes to Avoid
Ignoring miter slot wear. Over time, slot sides develop grooves, and your gauge’s shoe fits loosely. Test this by lifting the gauge slightly: if it moves up and down easily, the slot is worn. A loose gauge will drift during cuts. Install a shim (a thin piece of hardwood) under the gauge shoe to tighten the fit, or switch to an aftermarket gauge with a tighter fit tolerance.
Skipping the angle calibration. If your miter cuts don’t fit together, don’t blame the blade, blame the angle. Verify your angle setting against an independent reference (a digital angle gauge, a 45-degree square, or home renovation tutorials that show proper setups) before cutting a bunch of pieces.
Crosscutting without a miter gauge. We see this all the time: someone holds a board against the fence and runs it across the blade. This is dangerous and inaccurate. Always use the miter gauge for crosscuts.
Pushing too hard or too fast. Let the blade’s speed do the work. Forcing the workpiece stalls the blade, creates rough cuts, and increases kickback risk. Feed slowly and steadily.
Not supporting long workpieces. Overhang causes the board to dip and the cut to bind. Use outfeed support or ask a helper to steady the overhang on the outfeed side (never between the blade and fence).
Conclusion
A miter gauge is simple in theory but powerful in practice. Invest time in tuning yours, verify the miter slot condition, confirm angle accuracy, and practice on scrap before moving to finished material. Whether you’re using the stock gauge that came with your saw or upgrading to a precision model, the payoff is cleaner cuts, fewer mistakes, and safer work. Treat it as the fundamental tool it is.


