
Tired of tripping over that pile of books and random knick-knacks by your bed? It’s time to transform your cluttered corner into a stylish sanctuary with a DIY nightstand project. Not only will it give your bedroom a polished look, but it’ll also provide a perfect spot for your favorite bedtime reads and that ever-important glass of water.
Overview of DIY Nightstand Project
Creating a DIY nightstand offers a practical way to organize a bedroom while enhancing its appearance. This project combines functionality with a touch of personal style, making it a worthwhile endeavor.
Tools and Materials Needed
Various tools and materials support this project. A drill facilitates sturdy assembly. A saw allows for precise cuts, ensuring components fit perfectly. Sandpaper helps smooth the surfaces for a polished look. For materials, consider using plywood, which provides durability and a clean finish. Choose screws to secure joints and hinges if including a door. Paint or stain enhances the final design, allowing for customization.
Project Cost Estimation
Estimating the cost for this DIY nightstand involves considering materials and tools. Budget around $50 to $150, depending on the quality of materials. Plywood generally costs $40 to $80 for a sheet. Additional supplies, like screws and paint, add about $10 to $30. If tools aren’t already available, rental or purchase could increase costs. By planning ahead, expenses remain manageable while still achieving a stylish piece of furniture.
Step-by-Step Instructions
Follow these steps to create your DIY nightstand efficiently and effectively.
Preparing the Workspace
Ensure your workspace is clean and organized. Gather all necessary tools and materials in one area to streamline the process. Lay down a drop cloth to protect the surface from paint or debris. Check for adequate lighting to avoid accidents while working. Safety gear, including goggles and gloves, should be worn at all times. Familiarize yourself with each tool’s function. Proper preparation minimizes distractions and keeps the project moving smoothly.
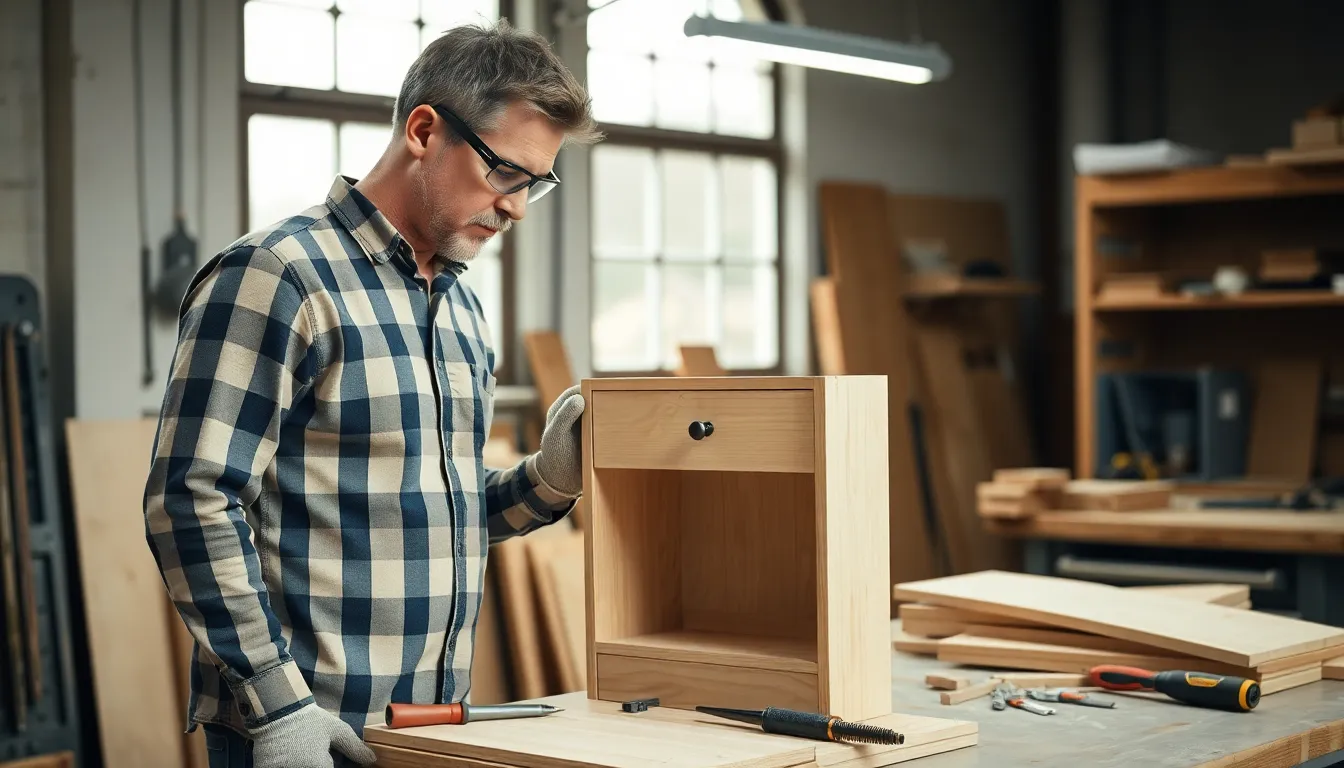
Cutting and Assembling the Wood
Start by measuring the plywood pieces according to your nightstand design. Cut the wood with precision to achieve clean edges. Use a saw suitable for your skill level. After cutting, sand the edges to remove splinters and rough areas. Assembly requires following your design closely. Begin by securing the sides to the top using screws. Attach the bottom shelf for extra stability. Confirm everything is aligned before tightening the screws to ensure durability. Completing this stage sets the foundation for customizing and finishing your nightstand.
Customization Ideas
Customization enhances the DIY nightstand project, allowing a perfect fit for individual style and functionality.
Paint and Stain Options
Various paint and stain options exist to personalize your nightstand. Choose from different shades to match the bedroom decor. Matte finishes create a modern look, while glossy finishes add a sleek touch. Experiment with stains to highlight wood grain for a natural appearance. Using techniques like distressing or faux finishes can create a unique character, so exploring different styles contributes to the piece’s individuality.
Adding Storage Solutions
Integrating storage solutions improves organization within the nightstand. Small drawers serve to hold miscellaneous items, adding functionality. Open shelves provide accessible space for books or decorative elements, enhancing aesthetic appeal. Decorative boxes can also offer concealed storage while maintaining visual appeal. By incorporating these options, the nightstand transforms from a simple piece into a practical furniture item.
Final Touches
Completing your DIY nightstand involves important finishing touches and decorating techniques. These steps enhance both the look and functionality of the piece.
Finishing Techniques
Applying a final coat of varnish provides protection and enhances the wood grain. Choosing between matte and glossy finishes allows for personal expression. Sanding the surface lightly between coats ensures a smooth texture. Distressing techniques can create a unique, vintage look. Experimenting with different colors can make a statement, drawing attention to the nightstand in the bedroom. Selecting the right type of paint or stain will increase durability. A well-executed finish not only beautifies but also safeguards the nightstand from wear and tear.
Decorating Your New Nightstand
Styling the nightstand adds personality to the room. Arranging a small table lamp can provide illumination and create a cozy atmosphere. Including decorative objects like candles, books, or plants introduces vibrancy and a personal touch. Opting for functional items, such as coasters, keeps surfaces tidy and organized. Assigning storage pieces, like trays or bowls, offers additional practicality. Choosing artwork or framed photos can complement the nightstand while enhancing overall decor. A balanced arrangement creates an inviting look that reflects individual taste.
Creating a DIY nightstand not only enhances bedroom organization but also adds a unique touch to personal space. With the right tools and materials anyone can craft a stylish and functional piece that fits their aesthetic. The project encourages creativity through customization options and offers practical solutions for storage.
By following the outlined steps and incorporating personal flair the nightstand becomes more than just furniture; it transforms into a reflection of individual style. This DIY endeavor is an opportunity to bring a sense of accomplishment and satisfaction while improving the overall atmosphere of the bedroom. Embracing such projects can lead to a more organized and visually appealing living environment.